Kaspa is a PoW (proof-of-work) based project on the GHOSTDAG protocol. It’s a general version of the Nakamoto consensus. Then, the project is open-sourced, community-based, and follows no central governance or business model. The idea was first implemented by Yonatan Sompolinsky and Aviv Zohar in 2016.
By using the GHOSTDAG protocol, the team aims to resolve the scaling constraints present in the Nakamoto or any PoW-based project. Kaspa will offer a tool to design layer 2 applications. Therefore, the project will provide a security guarantee like any PoW-based project with the advantage of faster block processing speed with adjustable block-time and reward. In this article, you will learn how to use the Kaspa Wallet.
Kaspa’s Wallet Features
Currently, the Kaspa testnet processes 1 block per second. However, the team is working to increase this level to 10 or even 100 blocks per second. Also, the KASPA project is still in the early phase. Users may experience some bugs or network connection issues. In addition, we will explain how you can get some free KAS tokens from the faucet and learn to use the wallet. We’ll start learning how to get the kaspa’s token.
1) How to Get KAS Tokens
Then, users can get KAS, the Kaspa’s token, from the below channels:
- TXBIT Exchange- Get the KAS token from the Txbit exchange, paired with USDT.
- Via Mining- You can set up a mining node to participate in the Kaspa ecosystem and earn KAS tokens as rewards.
- Bounties- Get some bounty tokens from the community members by contributing to the Kaspa community.
2) Types of Kaspa wallet
In addition, at present, the wallet is available in 3 different forms:
- Kaspa web wallet
- Desktop wallet
- Kaspa Command Line Wallet
Moreover, we will explain how you can access and use the web-based application of the Wallet.
3) How to Access The Kaspa Wallet
To access the Kaspa web wallet, visit the link

Source: Kaspa Wallet
Here, you can find two options to set up your wallet:
- Create A New Wallet: This will allow the users to create a new wallet.
- Recover From Seed: This allows users to retrieve their existing wallets and funds by giving their 12-word backup seed phrase.
4) How to Create A Kaspa Wallet
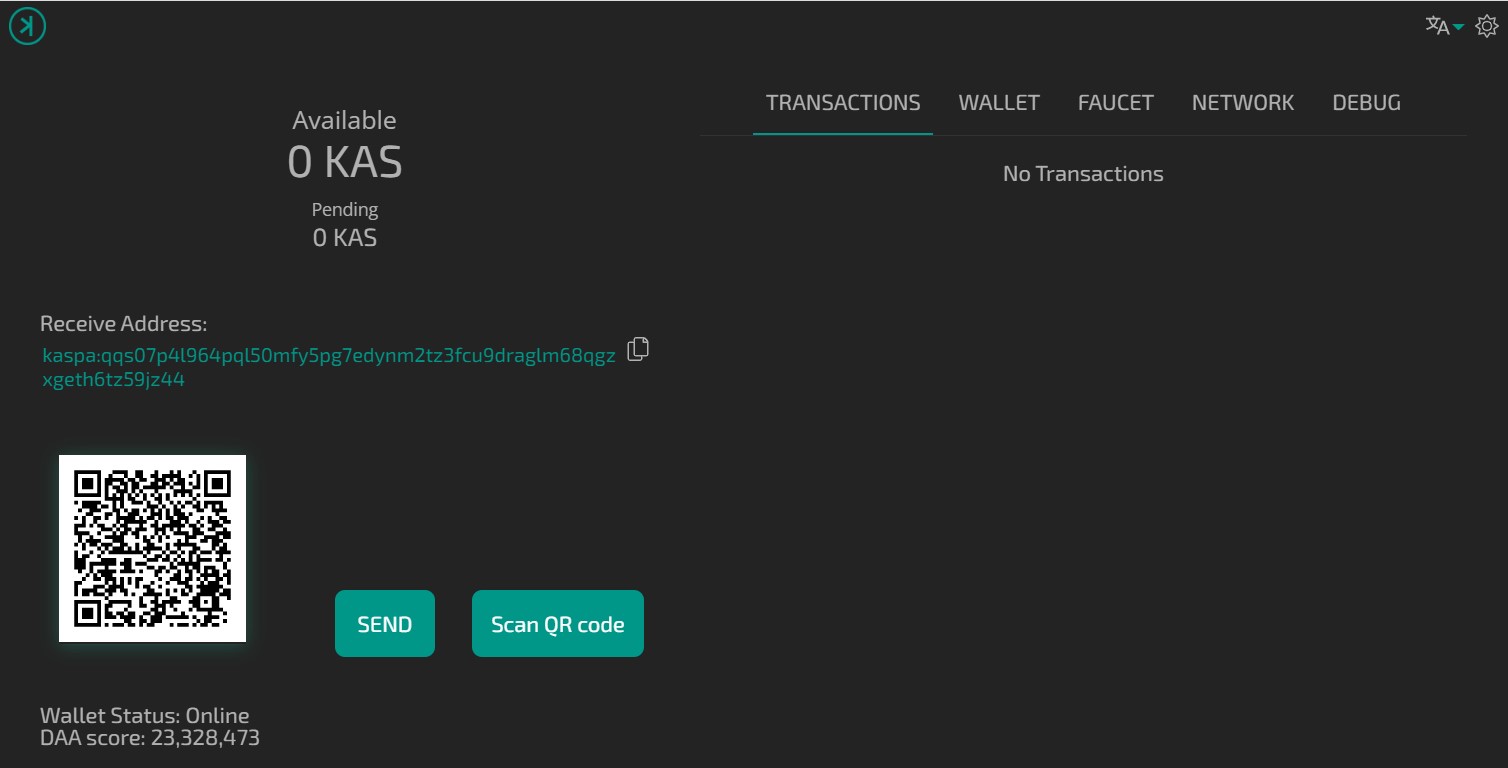
Then, to create a new wallet, click on this option. The application will ask you to set up your wallet’s password. Next, it will show you the 12-word backup phrase and ask you to verify some of the key phrases. Once you verify it correctly, you can see the wallet’s landing page.
Note: Always store your backup phrase safely. Moreover, the backup phrase is the key to setting up your account on any device. If you lost your backup phrase, your funds are lost.
5) How to Receive Funds to Your Kaspa Wallet
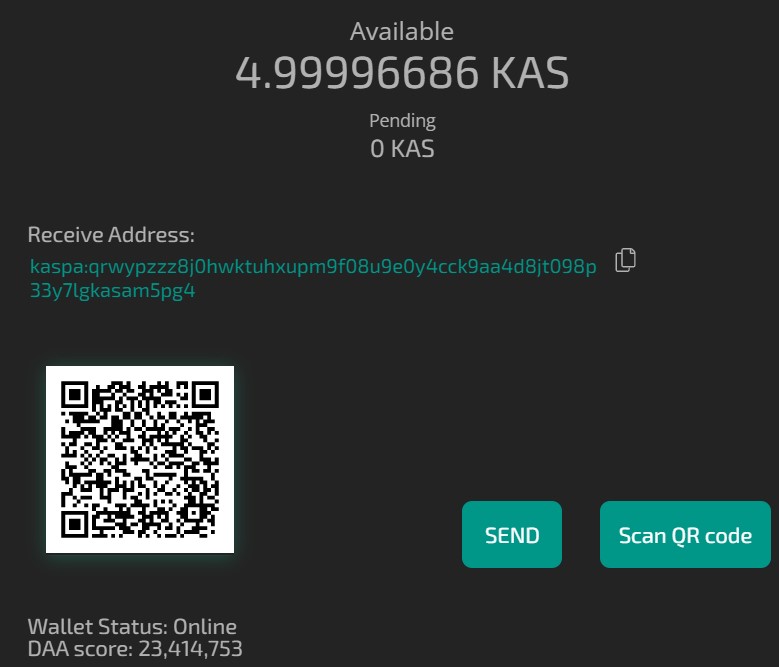
On the wallet’s landing page, you can see the Receive Address. Then, users can use this address or the QR code to get a KAS token from the exchange or any other Kaspa wallet.
Source: Kaspa Wallet
6) How to Send Funds From a Kaspa Wallet
The send option allows you to transfer your KAS token to another Kaspa wallet. To transfer, click on the Send button. You now need to fill in the recipient address, the amount you wish to send, and a note (optional).
Users can also set the priority fee for the transaction. Then, you need to confirm the transaction. You can do it with the Send option.
7) How to See Transactions in a Kaspa Wallet
Check all incoming and outgoing transaction activities from the “transactions” tab. You can see the number of KAS tokens, the hour and date of the transaction too.

Source: Kaspa Wallet
8) Kaspa Wallet’s Features
Moreover, under the wallet tab, users can find the below functions:
- Compound Transactions
- Backup Seed- Check your seed phrase by giving your password
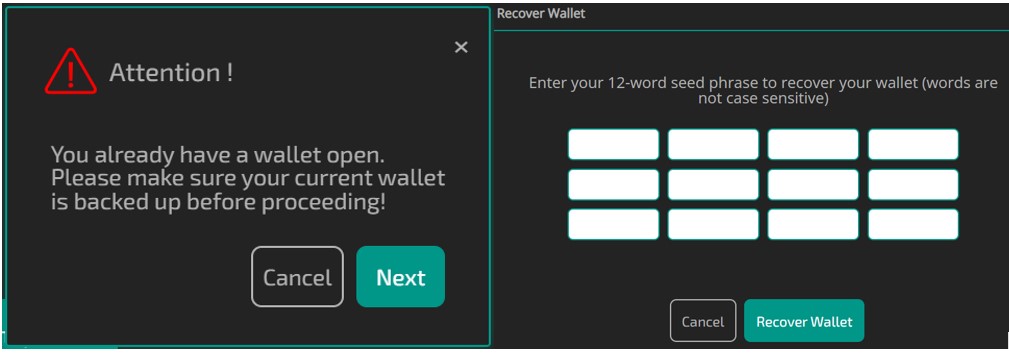
- Recover From Seed – This option will allow you to recover an existing Kaspa wallet account by giving the seed phrase. Also, users can backup its phrase of their current wallet before opting for importing some other account.
Next, it will ask you to enter the 12-word backup phrase. Then, if you enter the phrase correctly, your account will be imported.
Source: Kaspa Wallet
- Export Wallet Seed File (KPK)- Use this option to export the seed file of your current Kaspa wallet
- Import Wallet Seed File (KPK) – Use this option to import the seed file of a Kaspa wallet to import the account. Moreover, the application will give you the option to search your local drive for the seed file.
9) How to Get free KAS Tokens From Faucet
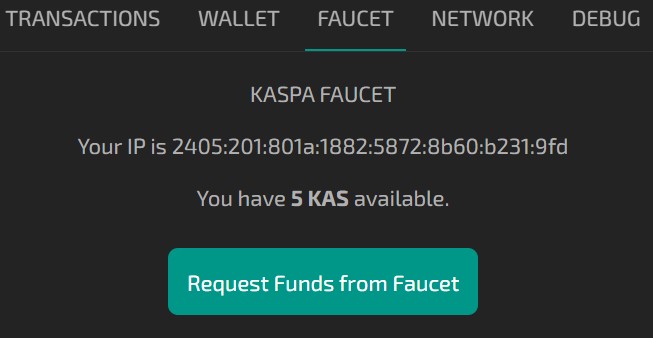
Also, from the Faucet tab, you can request some free KAS tokens. Users can request the available balance shown in their wallet Faucet’s tab (see the screenshot below).
Source: Kaspa Wallet
Moreover, to request click on the Request Funds From Faucet button.
In addition, a window will appear where you can mention the amount of KAS token that you want to get in your wallet’s account. Then, confirm the process and the KAS token will be displayed in your account.

Then, users can request some more funds from the faucet after 24hrs.
10) Kaspa’s Network
Check the Kaspa main-net details from this tab.

Conclusion
Finally, the project is in the early phase. We didn’t find many resources about the project on the internet. Moreover, the utility token is still not clear. Overall, we will hopefully get more information about the project and its ecosystem in the future.
Trending posts: Which altcoins will survive the BEAR market? | Crypto Tokens With Big Return 2022 | Kaspa Wallet | Features, types, how to send & receive funds
Trending reviews: Infinity Wallet Review | Ethos Coin & Wallet Review | ETHLend Review | Switchere Review | Trezor Wallet Review | Ledger Wallet Review | KeepKey Wallet Review
Follow Verge Hunter on: Twitter | Facebook Page | Facebook Group | LinkedIn | Google News

